As an Amazon Associate I earn from qualifying purchases. Thanks for supporting my blog by shopping the links at no extra cost to you!

Dried oranges, specifically garlands were all the rage this past holiday season! I was definitely gazing over some pretty pictures myself and thought it would be a simple and fun project to try. My six-year-old daughter even wanted to try it out. I’m not sure how she caught the trend, but I liked it!
So somewhere between decorating, cookie making, gingerbread house building, present wrapping, and keeping the house afloat with four kiddos anxiously awaiting Christmas…we never dried oranges! Big surprise! I kept thinking about them, though. I was like I could still try it. Once you start taking Christmas down it just feel so clean and refreshing, I knew I didn’t want to add visual clutter. We have a big breakfast window that often hangs a seasonal banner. I thought something there for the New Year would be nice, before our Valentine Heart Garland strings across it in February. Then I thought of a wreath, and the way I have been hanging things on my blinds lately I thought it would be really pretty with some denim blue ribbon I bought ages ago for another unfulfilled crafty thought! Perfect.
Supplies for dried oranges wreath:
- oranges
- cutting board
- knife
- sheet pan
- parchment paper
- hot glue
- scissors
- ribbon
- pipe cleaner
Dry the Oranges
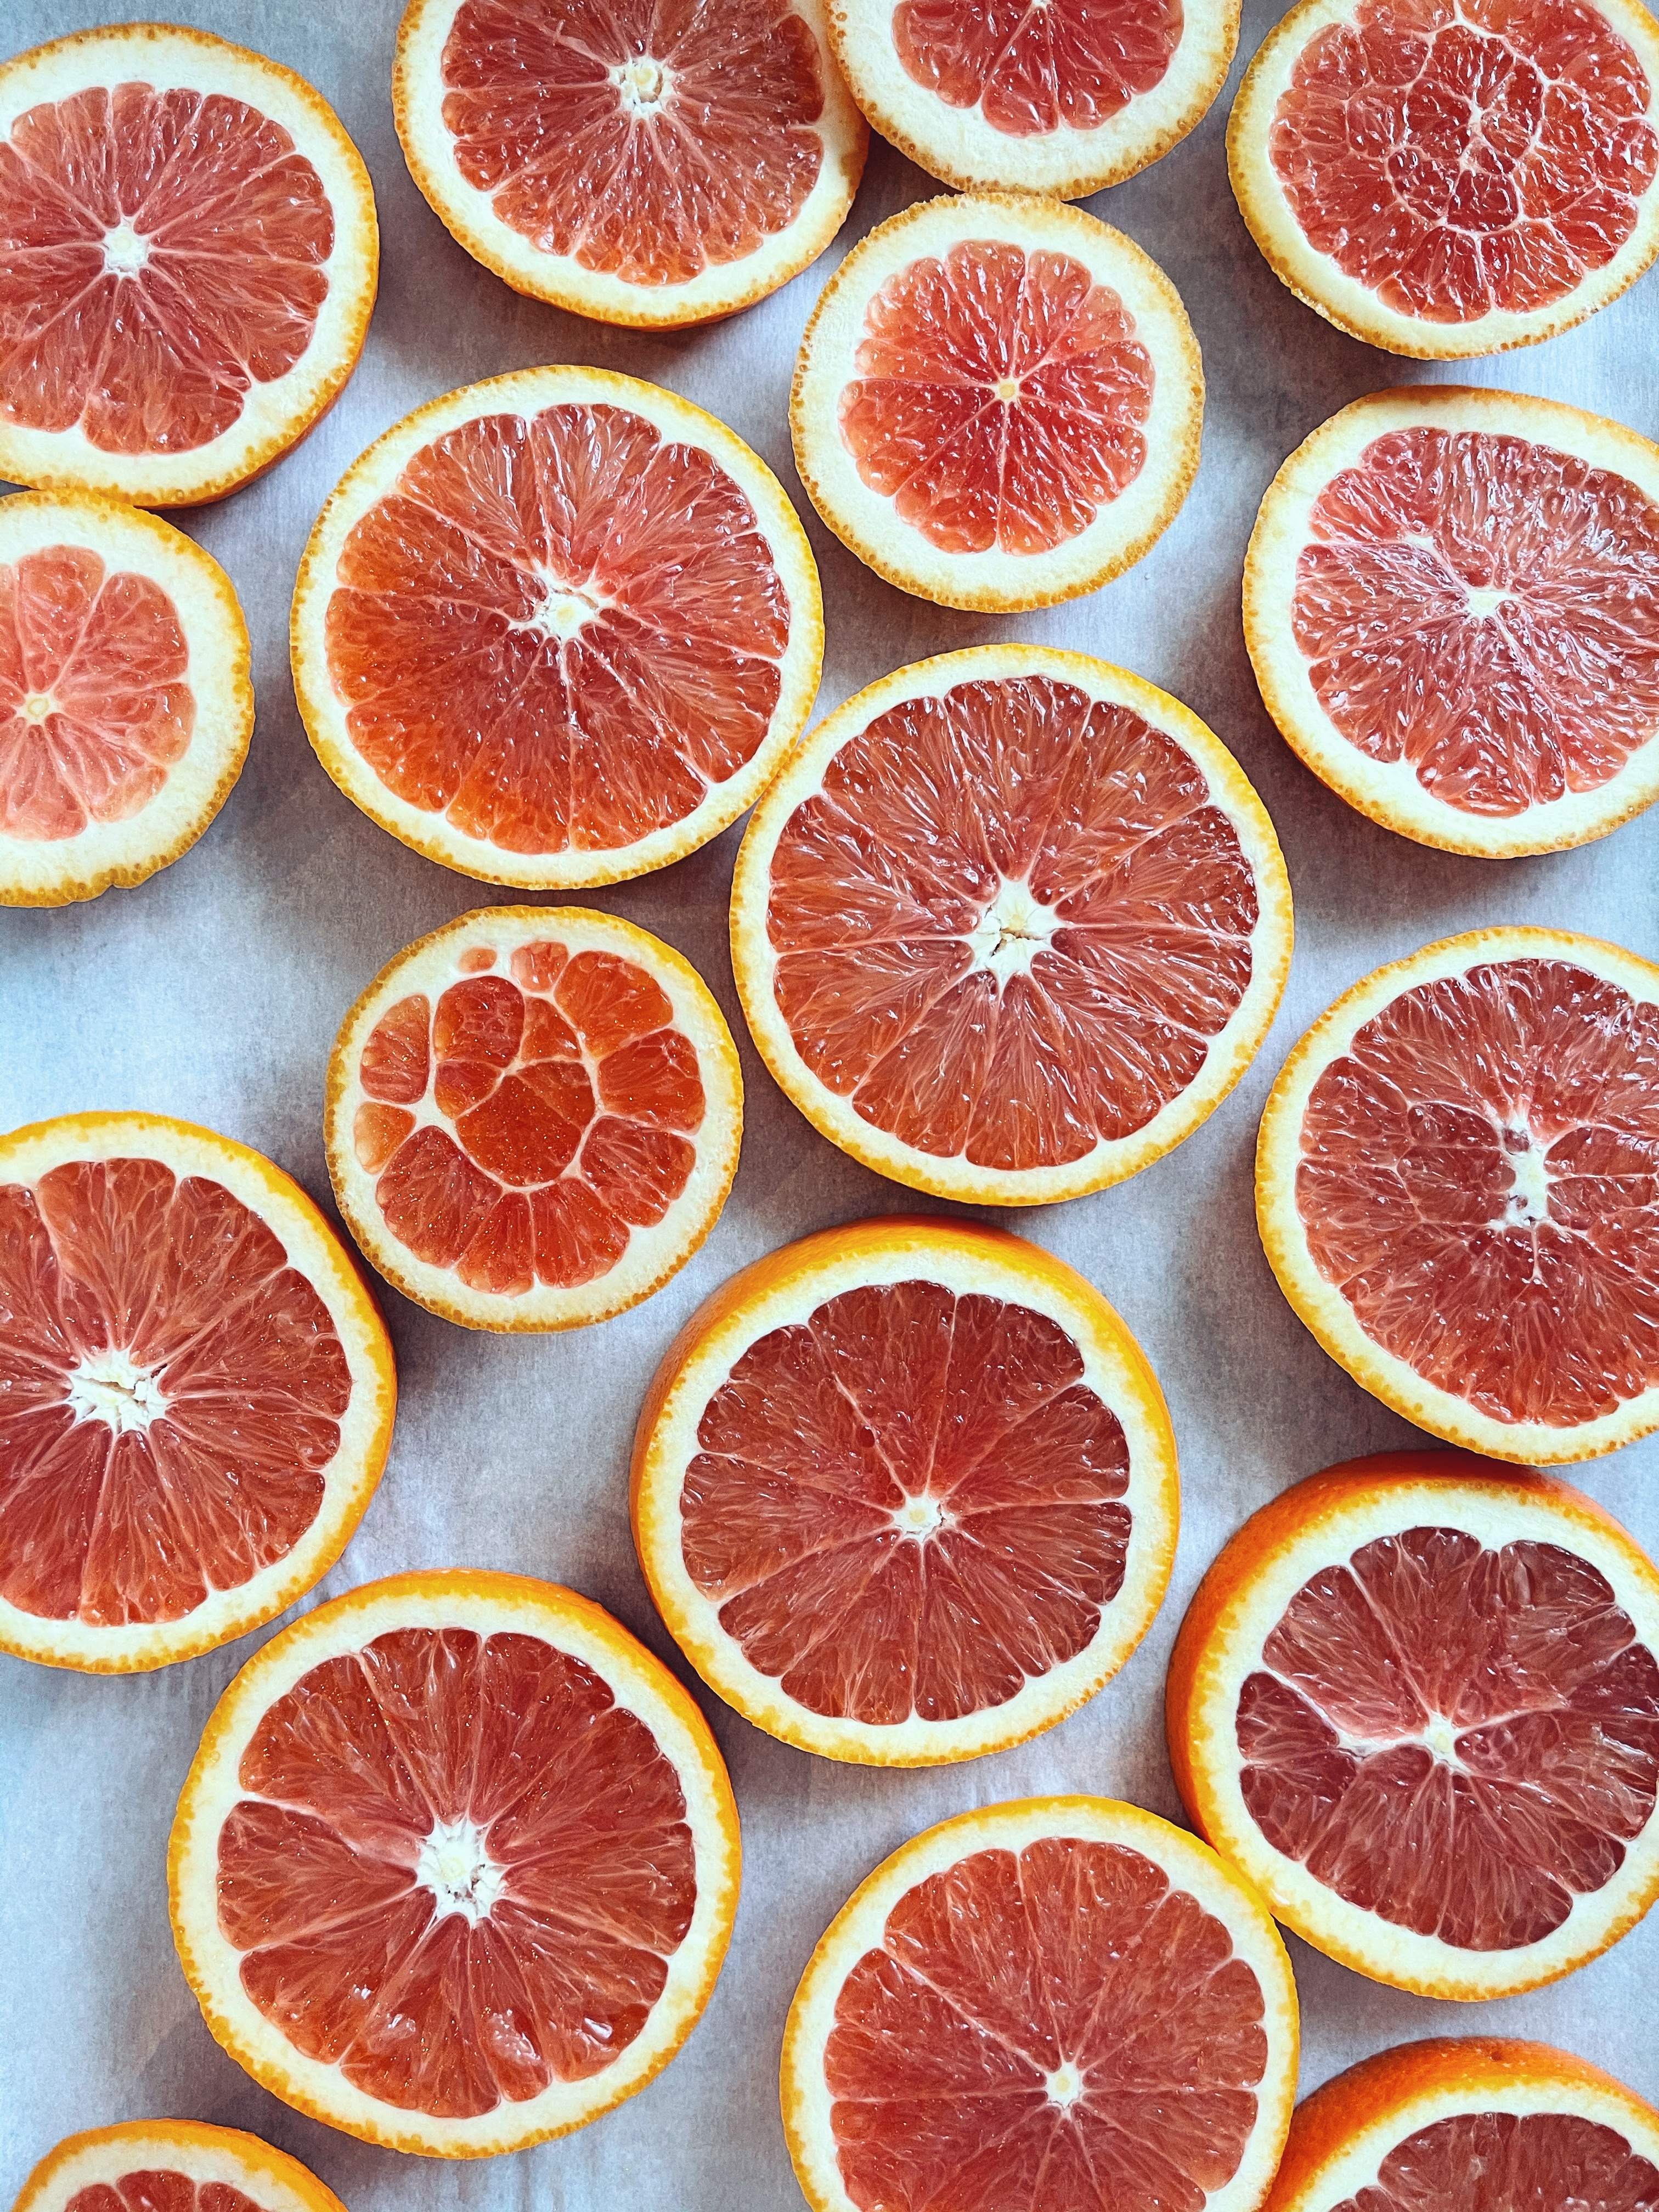
My daughter, Emma, and I got to work. Pretty straight forward. We had regular navel oranges about baseball size maybe a bit smaller. I cut the oranges, and she laid them on a sheet pan lined with parchment paper. I found it helpful to cut each end first and then split the rest in half and each of those again. That made for 6 even slices per orange.


Into the oven they went at 250°F. I checked on them every hour and let them go about 5 hours total. I think 4 hours might have been a little better. They do seem a little wet or tacky, but they continue to dry. We experimented a little and sliced up some mandarin oranges we had as well. They were so pretty on the pan before. They are sweet for a reason though because they definitely caramelized more in the oven. Kind of fun to see though and I think they make good fillers.

Once they were dried we decided we needed more oranges. It’s worth noting that we did not love the aroma of the dried oranges, ha! When they were fresh they smelled delicious.
The next oranges I got were Cara Cara. Yum! I just sliced up two to start. They were a bit more of a grapefruit color. I was worried they might caramelize more like the mandarins, but they did not. I think I could have done one more batch to make the wreath a little bigger, but I was impatient (lazy) and just went for it.

Assemble the Wreath
In my head the plan was to kind of layer the oranges over each other. When I laid it out though, I didn’t like it. I also started getting excited about the oranges being the slightest bit translucent. I was thinking that would look so pretty against the window. Like stained glass. Layering them kind of ruins that effect. So, then I messed around with them some more and came up with an arrangement I liked.

I moved the oranges to my granite counter so I could use hot glue freely. Not sure that’s advisable, but works for us! I flipped them over so the side of the orange I didn’t like as much was facing up.

Unfortunately I was down to my last 3 sticks of hot glue! I made it work though, although I definitely could have used a little more. It might need some more reinforcing when I get more. The wreath is still hanging for now though!

Hot Glue Dried Oranges Together
I started gluing an inner ring first. Once that dried I just held it up to see if it was going to work. Again, I was going for the stained glass perk of these pretty oranges so I didn’t want to adhere them to anything else or use a more opaque glue. Then, I added in the others around. I kind of had one spot that had a little less and I was thinking that would actually be helpful for where the ribbon hangs the wreath.
Hang with Ribbon
Once it was all dry and I picked the stray glue strings off I flipped it over and held it up to see if it would hold, it did! It sort of bends/bows a little, but since it would lay against my blinds who cares! I looped the denim ribbon (similar) I already had around my blinds and held the wreath through while I knotted that. Then, I attached my over-sized bow to that ribbon using a pipe cleaner. I wanted my bow to be kind of Alice in Wonderland big. You could use any color ribbon obviously, but in my head January=blue. Does anybody else do that? Pink ribbon would also be adorable, and then you could keep it up through February!


I really love the way it turned out! I think it is fresh and happy for January. It is still seasonally appropriate even though I missed the Christmas garland boat, don’t you think? Do you put any special decorations up for January? I am already itching for flowers for spring indoors and outdoors. I just love flowers!

Happy New Year!


